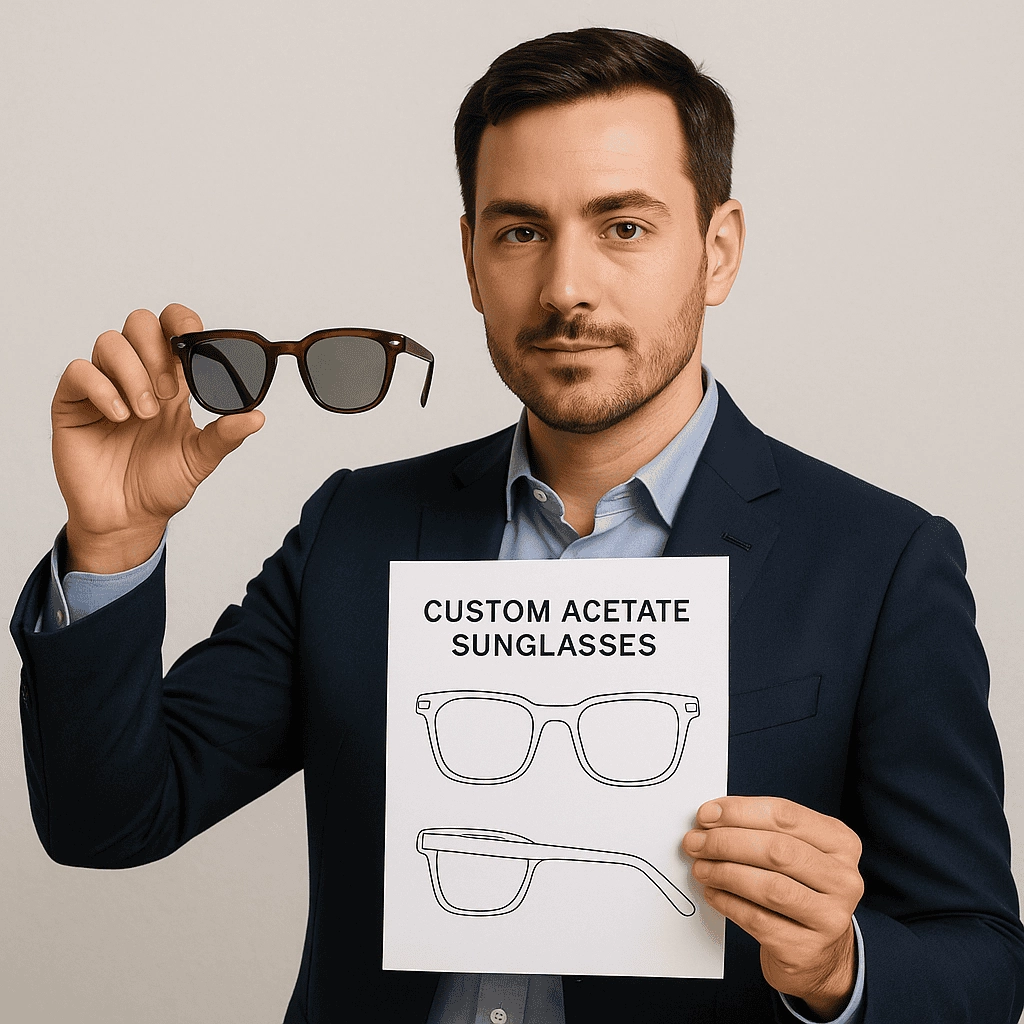
Your buyers struggle with generic eyewear that blends in and fails to reinforce brand identity. Here’s the deal We’ll walk you through each step for crafting acetate frames stamped with your logo so you launch signature sunglasses that sell. With over ten years in B2B eyewear manufacturing and compliance with CE and FDA standards you can rely on a proven process.

1. What Materials Can I Use for Custom Sunglasses?
Acetate ranks among the top choices for premium eyewear thanks to rich color depth and polish-quality finishes that catch the eye. Ready for the good part? Mazzucchelli sheets come in various grades defined by thickness and dye stability—higher grades yield superior warp resistance during thermoforming. Metal alloys such as stainless steel or titanium offer sleek temples and hinge strength for durable everyday wear. TR90 frames deliver exceptional flex resistance at ultralight weight for active-lifestyle collections. Lens options range from polarized filters blocking 99% of glare to UV-blocking CR-39 demo lenses for display. Selecting the right substrate impacts not only look and feel but also long-term performance under stress. Below is a comparison of key materials.
| Material | Pros | Cons | Typical Use Cases |
|---|---|---|---|
| Acetate | Rich colors, high polish quality, durable | Higher cost per unit | Fashion and lifestyle brands |
| Stainless Steel | Strong, thin profiles, corrosion resistant | Can feel heavy if over-engineered | Luxury and minimalist designs |
| Titanium | Ultraluight, biocompatible, highly corrosion-resistant | High tooling cost | Premium and sports eyewear |
| TR90 | Flexible, lightweight, cost-effective | Limited color depth compared to acetate | Activewear and budget lines |
2. How Do I Choose the Right Frame Shape and Style?
Matching frame silhouettes to face profiles elevates wearer comfort and confidence. But here’s the kicker… a mismatched shape distracts from both brand and user experience. Oval faces pair well with square frames that add definition. Round faces gain structure from angular designs. Heart-shaped visages balance a narrow chin with wider brow through cat-eye silhouettes. Square jawlines soften via round or oval frames that minimize harsh angles. Trend cycles influence color palettes and temple details but timeless shapes ensure catalog longevity. Comfort factors include nose-bridge fit and temple length—prototypes must undergo fit trials on multiple face-forms. Consider seasonal style variations: translucent acetate for spring collections against matte black for fall releases. Track performance metrics per style via sell-through rates and buyer feedback surveys to refine future runs.
| Face Profile | Recommended Frame Shape | Style Notes |
|---|---|---|
| Oval | Square, Rectangle | Provides contrast and structure |
| Round | Angular, Square | Adds definition |
| Heart-Shape | Cat-Eye, Oval | Balances wide brow, narrow chin |
| Square | Round, Oval | Softens jawline |
| Diamond | Rimless, Oval | Highlights cheekbones |
3. How Can I Add a Custom Logo or Branding?
Positioning your mark requires balancing visibility with style coherence. What’s the real story? Over-sized logos overwhelm designs while tiny etchings go unnoticed. Laser engraving delivers precision etches on acetate or metal temples without adding bulk. Pad printing applies durable ink layers for multi-color logos on frame fronts. UV-curable inks resist abrasion and sweat for active users. Lens-corner etching adds a subtle signature for luxury lines. Logo placement options include temple arms, temple tips, lens corners, and nose-bridge overlays. Always test adhesion and color fidelity under accelerated wear conditions. Below is a quick method comparison.
| Method | Durability | Color Options | Best Placement |
|---|---|---|---|
| Laser Engraving | Very high | Monochrome | Temples, nose bridge |
| Pad Printing | High | Up to 6 colors | Frame front, temples |
| UV Ink Printing | Medium-high | Full CMYK | Lenses, temples |
| Lens Etching | Very high | Subtle (transparent) | Lens corners |
4. How Do I Select Color Palettes and Finishes?
Choosing the ideal palette demands harmony between brand identity and wearer preferences. Here’s the deal Solid acetate arrives in scores of Pantone-matched hues while tortoise blends natural browns and ambers for heritage appeal. Striped patterns stack contrasting colors for statement frames. Matte finishes absorb light for understated elegance. Glossy coats reflect vibrancy under showroom lights. Soft-touch coatings add a velvet feel at strategic temple sections for comfort. Dual-injection techniques embed accent colors within translucent layers for depth. Test batch consistency across production lots by measuring color ΔE values under controlled lighting. Below is a sample color finish breakdown.
| Finish Type | Visual Effect | Texture | Brand Fit |
|---|---|---|---|
| Glossy | High sheen | Smooth | Fashion and trend lines |
| Matte | Low reflectivity | Soft | Luxury and minimalist lines |
| Translucent | Semi-transparent | Smooth | Youth and seasonal drops |
| Soft-Touch | Low sheen | Velvet-like | Premium comfort collections |
5. How Do I Prepare Technical Drawings and Mockups?
Accurate CAD files and 3D renders bridge design and production. Ready for the good part? Start by exporting vector paths from design software into STEP or IGES formats readable by CAM systems. Define frame geometry, hinge pockets, and lens cavities with precise tolerances ±0.1 mm to ensure proper fit. 3D renders help clients visualize final pieces in selected colors and finishes. Generate exploded-view diagrams showing part assemblies—frames, hinges, screws, and demo lenses. Request client sign-off on digital prototypes before moving to RP board sampling. Maintain revision control via versioned filenames and change logs. Below is a checklist for drawing approvals.
| Drawing Element | Required Detail | Tolerance | Approval Stage |
|---|---|---|---|
| Frame Outline | Outer and inner contour paths | ±0.1 mm | Initial draft |
| Hinge Pocket | Position and depth | ±0.05 mm | Pre-sampling |
| Lens Cavity | Curve radii and bevels | ±0.1 mm | Final mockup |
| Logo Placement | Coordinates and size | ±0.1 mm | Branding approval |
6. How Do I Find and Vet a Reliable Manufacturer?
Partnering with an experienced factory safeguards quality and timelines. But here’s the kicker… not all suppliers match their brochure claims. Conduct on-site audits or virtual factory tours to inspect CNC machining, polishing stations, and assembly lines. Verify production capacity—can they handle 10,000–50,000 pairs per run without quality dips? Check certifications: ISO 9001, CE, FDA, UKCA. Review sample-room archives for past client work. Ask for customer references and recent audit reports. Negotiate MOQs reflective of material complexity—200–300 pairs for acetate trials, higher for metal prototypes. Secure payment terms that balance cash flow and supplier commitment. Below is a vetting scorecard template.
| Vetting Criteria | Weight | Score (1–5) | Notes |
|---|---|---|---|
| Quality Certifications | 30% | CE, FDA, UKCA | |
| Production Capacity | 25% | Min monthly volume | |
| Sample-Room Quality | 20% | Finish and consistency | |
| Lead Time Accuracy | 15% | On-time delivery history | |
| Communication | 10% | Response speed and clarity |
7. What Steps Are Involved in Prototyping?
Prototyping translates digital drafts into tangible samples for real-world evaluation. What’s the real story? First produce RP boards via 3D printing or CNC machining in ABS or PLA for basic fit checks. Next craft acetate trial frames by hand-laying sheets and curing under heat. Polish demo lenses into blanks for insertion. Assemble hinges, screws, and temple tips. Conduct fit tests on head-forms and real wearers—note pressure points and potential comfort issues. Iterate design tweaks in CAD after each round. Typical cycle spans 10–20 working days depending on complexity. Document all changes to streamline final tooling. Below is a prototyping timeline.
| Prototype Stage | Activity | Duration |
|---|---|---|
| RP Board Fit Check | 3D print basic frame shape | 2–3 days |
| Acetate Sample Build | Thermoform and polish components | 4–6 days |
| Assembly | Insert lenses and hinges | 1–2 days |
| Fit Testing | Wear trials on forms | 2–4 days |
| Revision | CAD updates based on feedback | 1–2 days |
8. How Do I Set MOQ and Pricing for My Order?
Balancing unit cost and volume drives profitability. Here’s the deal Calculate raw material cost per sheet plus machine time for cutting and polishing. Add labor charges for assembly and finishing. Tooling fees—molds and dies—amortize over projected volume. Higher volumes reduce cost per unit but require larger upfront investment. Tiered pricing structures reward larger buys with discounts at thresholds: 500, 1,000, 5,000 pairs. Offer startup bundles at lower MOQs (200–300 pairs) with slightly higher unit rates. Clearly disclose extra fees for custom colors, logo methods, or special coatings. Below is a sample tiered pricing table.
| Order Volume | Unit Price (USD) | Tooling Fee (USD) | Notes |
|---|---|---|---|
| 200–300 | 12.50 | 500 | Startup trial MOQ |
| 500–999 | 9.80 | 300 | Mid-tier discount |
| 1000–4999 | 8.20 | 0 | Standard production MOQ |
| 5000+ | 7.10 | 0 | High-volume contract rate |
9. How Do I Plan Production Timelines Effectively?
Transparent schedules prevent costly delays. Ready for the good part? Acetate sheet cutting and polish take 7–10 days. Lens cutting and AR coating require another 5–7 days. Assembly and QC add 3–5 days. Factor in a 5-day buffer for unexpected rework or shipping hold-ups. Build milestones: design approval, tooling completion, sample review, bulk start, QC sign-off. Share Gantt charts with stakeholders to track progress in real time. Align production slots with seasonal launches—holiday catalogs or trade show deadlines. Below is a sample production timeline.
| Milestone | Scheduled Date | Duration |
|---|---|---|
| Tooling Completion | Day 0 | 5 days |
| Sample Approval | Day 6 | 3 days |
| Bulk Start | Day 10 | – |
| Mid-Run QC Check | Day 25 | 2 days |
| Final QC and Packing | Day 35 | 3 days |
10. How Should I Conduct Quality Control Checks?
Rigorous QC shields brand reputation. This is where it gets interesting… Inspect acetate thickness at multiple frame points—ensure uniformity within 0.2 mm. Verify hinge alignment by rotating temples 180° five times under load. Test lens clarity through spectrophotometer readings—UV blocking above 99%. Conduct drop tests onto hard surfaces from 1 m height to gauge impact resistance. Randomly sample 5% of each batch for dimensional checks and finish quality. Document all failures and corrective actions in a QC log. Below is a QC checklist.
| QC Item | Method | Acceptance Criteria |
|---|---|---|
| Acetate Thickness | Caliper measurement | ±0.2 mm tolerance |
| Hinge Functionality | Mechanical cycling | No looseness |
| Lens UV Blocking | Spectrophotometer | ≥99% UV-A/B rejection |
| Impact Resistance | Drop test | No visible damage |
| Finish Uniformity | Visual and tactile inspection | No surface defects |
11. How Do I Design Packaging and Brand Inserts?
Packaging creates the first tactile brand impression. But here’s the kicker… flimsy boxes undermine perceived value. Opt for rigid two-piece boxes with EVA foam inserts to cradle frames securely. Custom microfiber pouches protect lenses and reinforce branding with printed logos and care icons. Include branded care cards outlining cleaning steps and warranty info. For premium lines, add certificate cards numbered per pair to emphasize exclusivity. Eco-friendly brands can choose recycled paper and soy-based inks. Below is a packaging options comparison.
| Packaging Type | Protection Level | Branding Impact | Cost Estimate (USD) |
|---|---|---|---|
| Rigid Box + Foam | High | High | 2.50 |
| Rigid Box + Cloth | Medium-High | Medium-High | 2.00 |
| Soft Pouch Only | Low | Low | 0.50 |
| Eco-Paper Box | Medium | Medium | 1.80 |
12. How Can I Arrange Shipping and International Logistics?
Efficient logistics minimize transit risks. Here’s the deal Sea freight remains most cost-effective for large volumes—plan 30–45 days from China to major ports. Air freight cuts transit to 7–10 days at higher cost per kg. Work with freight forwarders offering DDP or EXW terms based on buyer preferences. Prepare commercial invoices, packing lists, and certificates of origin to clear customs swiftly. Insure shipments at 110% declared value to protect against loss or damage. Use track-and-trace portals for real-time updates. Below is a shipping mode comparison.
| Mode | Transit Time | Approx. Cost (per kg) | Best For |
|---|---|---|---|
| Sea Freight | 30–45 days | 1.50 USD | Bulk orders |
| Air Freight | 7–10 days | 6.00 USD | Urgent restocks |
| Railway | 18–25 days | 2.50 USD | — |
| Express DDP | 5–7 days | 8.00 USD | Samples, prototypes |
13. What Certifications Should My Sunglasses Meet?
Compliance unlocks market access. Ready for the good part? CE marking confirms EU safety standards—frames must pass mechanical strength and lens transmittance tests. FDA regulations in the U.S. require impact and phototoxicity assessments for eyewear lenses. UKCA replaces CE for UK imports—testing criteria remain aligned. Lab tests for lens UV blocking and optical distortion must be documented in ISO 12312-1 reports. Maintain copies of all certificates and provide digital scans to buyers. Below is a quick certification guide.
| Certification | Region | Key Tests | Issuing Body |
|---|---|---|---|
| CE | EU | Impact, transmittance | Notified labs |
| FDA | USA | Impact, phototoxicity | Authorized labs |
| UKCA | UK | Same as CE | UK-approved bodies |
| ISO 12312-1 | Global | UV blocking, distortion | ISO accredited labs |
14. How Do I Calculate Total Landed Cost?
Landed cost guides pricing and margin planning. This is where it gets interesting… Sum production unit costs, packaging, freight, duties, and clearing fees. Factor in end-destination VAT where applicable and local handling charges. Currency fluctuations affect final landed cost—use forward contracts or PTAs to hedge risk. Divide total expenses by order volume to yield per-unit landed cost. Add target margin percentage to establish wholesale or distributor prices. Present detailed cost sheets to buyers for transparency and trust building. Below is a sample landed cost breakdown.
| Cost Component | Total (USD) | Per Unit (USD) |
|---|---|---|
| Production | 8,200 | 8.20 |
| Packaging | 1,200 | 1.20 |
| Freight & Duties | 2,500 | 2.50 |
| Insurance & Fees | 500 | 0.50 |
| Total | 12,400 | 12.40 |
15. How Do I Care for and Maintain Custom Sunglasses?
Proper care extends product life and brand esteem. But here’s the kicker… neglect can warp acetate or scratch lenses. Clean frames with lint-free microfiber cloths and mild soapy water—never use alcohol-based solvents. Store in hard-shell cases away from heat sources to prevent deformation. Tighten loose screws with micro-precision screwdrivers. Replace nose pads after 6–12 months for hygiene and fit. Offer buyers maintenance kits including spare screws and temple tips to reinforce after-sales service. Below is a care-routine checklist.
| Task | Frequency | Tools Needed |
|---|---|---|
| Cleaning | After each wear | Microfiber cloth, mild soap |
| Screw Tightening | Monthly | Micro screwdriver |
| Nose Pad Replacement | Every 6–12 months | Spare nose pads |
| Storage | Always | Hard-shell case |
| Inspection | Quarterly | Visual and functional check |
Conclusion
Your journey to signature acetate sunglasses starts with material selection and spans through branding placement, prototyping, production, and after-sales care. By mastering each step and leveraging quality checks alongside clear logistics planning you ensure product excellence and brand loyalty. Take these insights to build standout custom lines that resonate with clients and drive B2B growth.
FAQ
Q1: What are custom sunglasses?
Custom sunglasses refer to eyewear manufactured according to a buyer’s design specifications including frame shape, material choice, color palette, and logo branding.
Q2: How does logo engraving work?
Logo engraving uses lasers or pad-printing machines to etch or apply ink onto acetate or metal parts without compromising frame structure or finish quality.
Q3: What is the typical MOQ for custom acetate frames?
Most suppliers set a minimum order quantity of 200–300 pairs per model, though some factories offer lower trial runs for emerging brands at a slightly higher unit cost.
Q4: How long does prototyping and bulk production take?
Prototyping generally requires 10–20 working days for sample creation and fit testing. Bulk production lead times range from 30–45 days, depending on order size and season.
Q5: Which packaging options boost presentation value?
Rigid two-piece boxes with EVA foam inserts and branded microfiber pouches deliver high protection, premium unboxing experiences and reinforce brand perception.

