
Sunglasses are meant to protect your eyes and elevate your vision. But over time, they get cloudy, scratched, or coated in residue. Here’s the deal—most people don’t realize that simple daily habits or poor storage can destroy lens clarity. This article offers practical advice and technical guidance on how to restore your sunglasses to their original clear condition. We’ll cover causes, cleaning methods, repair options, and long-term care. By the end, you’ll know exactly what steps to take—and avoid—to keep your shades looking sharp.
1. Why do sunglasses become cloudy or blurry?
● Everyday residue like sweat, oil, and dust builds up on lenses
● UV coatings can deteriorate and cause surface haze
● Heat, humidity, and improper storage accelerate cloudiness
● Some cleaners create permanent streaks or fogging
Let’s break this down. Most people assume cloudiness just means dirt. That’s only half the story. Sweat contains salts that leave micro-crystalline residue. Sunscreens and makeup introduce chemical films. Over time, these accumulate into a visible blur. Worse, they begin to react with your lens coatings.
Then there’s UV exposure. Cheap sunglasses often use sprayed-on UV coatings that degrade over time. This leads to peeling or flaking, which looks like internal fogging. Add in high heat—like leaving your shades on a car dashboard—and your lenses may warp or bubble.
You might think a quick wipe solves it. But using a t-shirt or tissue grinds dust into your lenses, causing micro-abrasions. These scratches scatter light and give a permanent blurry appearance. Ready for the kicker? Many commercial lens sprays actually strip coatings. If you’re using household glass cleaner, you’re making it worse.
Here’s how typical damage sources contribute:
| Damage Cause | Effect on Clarity | Notes |
|---|---|---|
| Sweat & Oil | Smearing & light haze | Common during summer |
| UV Breakdown | Coating flaking | Irreversible in low-end models |
| Improper Cleaning | Scratches & streaking | Avoid dry cloth wipes |
| Heat Exposure | Warping, coating bubbles | Common in car storage |
2. What materials are sunglasses lenses made from?
● Overview of lens materials: polycarbonate, CR-39, glass
● Differences in clarity, weight, and scratch resistance
● Impact of materials on cleaning techniques
● Why coating compatibility matters when restoring lenses
You might be wondering—does lens material really matter? Absolutely. Each material responds differently to cleaning and repair techniques. For instance, polycarbonate is lightweight and shatter-resistant, but soft and prone to scratching. CR-39 (a type of plastic resin) offers better optics but cracks more easily. Glass provides exceptional clarity and durability but is heavier and can break.
Let’s consider scratch resistance. Glass is naturally hard, so it holds up well during cleaning. But polycarbonate relies on coatings for protection. If those coatings wear off, the lens surface scratches easily. That’s why knowing your lens material is step one before attempting any DIY restoration.
Another point is chemical compatibility. Glass can tolerate alcohol-based cleaners in moderation, while polycarbonate can’t. Coatings on plastic lenses are especially vulnerable to common household chemicals. Here’s where it gets interesting—the cleaning method that revives one lens type might destroy another.
Understanding the base material and surface coatings is essential for picking the right approach. If you’re not sure what your sunglasses are made from, check the product description or consult a professional.
| Lens Material | Pros | Cons |
|---|---|---|
| Glass | Clear, scratch-resistant | Heavy, breakable |
| Polycarbonate | Lightweight, impact-resistant | Prone to scratches, coating-dependent |
| CR-39 | Good optics, affordable | Less impact resistance |
3. Can lens coatings cause sunglasses to look hazy?
● Common coating issues: UV, anti-reflective, mirror finish
● How to identify coating deterioration
● Signs of coating haze vs. dirt buildup
● What to do if coating is the problem
Here’s the ugly truth—your lenses may be clean, but still look foggy. That’s likely a coating issue. UV filters, mirror layers, and anti-reflective coatings wear down over time. This leads to peeling, cracking, or developing a milky appearance.
Coating haze usually appears as an internal cloud or rainbow sheen. Run your fingernail gently across the surface—if it catches or flakes, the coating is likely compromised. Another giveaway? Blurriness that doesn’t go away even after thorough cleaning.
Low-cost sunglasses often use spray-on coatings with no protective sealing. After exposure to heat, chemicals, or even salty air, these begin to break down. Once this happens, cleaning becomes counterproductive—you’re just removing more of the coating.
Now here’s the twist—some coating haze can be carefully removed to reveal a clean lens beneath. But this process requires knowing whether the lens underneath is still optically functional.
| Coating Type | Common Problem | Repair Option |
|---|---|---|
| UV Coating | Peeling or flaking | Usually irreversible |
| Anti-reflective | Cloudy film | Can sometimes be stripped |
| Mirror Coating | Scratching or fade | May require full removal |
4. What household methods can clean foggy sunglasses?
● Use warm water and mild soap—never hot water
● Baking soda paste can lift grime gently
● Vinegar and water mix helps with mineral buildup
● Avoid ammonia, alcohol, or bleach
Let’s get into some home solutions. Start with warm (not hot) water and a drop of mild dish soap. Lather with your fingers—not a sponge—and rinse thoroughly. Use a microfiber cloth to dry. This removes oils without scratching.
For tougher buildup, baking soda paste (a few drops of water with soda) can work wonders. Apply with a soft cloth and rub in circular motion. Rinse immediately. This lifts stuck-on grease without damaging coatings.
Need something stronger? A 50/50 vinegar and water solution removes mineral residue from rain or tap water. Apply gently, then rinse. Always patch test first—vinegar is acidic and may affect coatings.
But here’s the warning—never use alcohol, ammonia, or window cleaners. These will strip coatings and fog your lenses permanently.
| Method | What It Removes | Risk Factor |
|---|---|---|
| Soap + Water | Oil, grime | Safe for all lenses |
| Baking Soda | Stuck-on film | Mild abrasiveness |
| Vinegar Mix | Water stains, minerals | Coating sensitivity |
5. How do you remove scratches that make sunglasses unclear?
● Light polishing with toothpaste or baking soda paste
● Commercial scratch removal kits
● Risks of polishing coated lenses
● When to replace instead of repair
This is where it gets tricky. Not all scratches are created equal. Surface-level ones on glass may polish out. Deep gouges in plastic? Probably permanent. Start with toothpaste—non-gel, non-whitening. Apply a small amount using a soft cloth in slow circles. Wipe and inspect. Repeat if needed.
You can also try baking soda paste, but it’s slightly more abrasive. Commercial kits use micro-abrasive compounds and polishing wheels. These can work well, but only on uncoated lenses—or if you’re ready to remove the coating entirely.
But be warned—polishing coated lenses almost always results in patchy clarity. If you’re unsure, test a small corner. If clarity improves without streaking, continue cautiously.
If the scratch is deep enough to distort your vision, replacement is the only real fix. Avoid DIY repair if you wear prescription sunglasses or if optical alignment matters.
| Method | Effectiveness | Best For |
|---|---|---|
| Toothpaste Polish | Light scratches | Glass lenses |
| Baking Soda Paste | Moderate haze | Uncoated plastic lenses |
| Commercial Kits | Mixed results | Non-coated, uniform wear |
(To be continued in the next message — continuing from Section 6)
6. Are there professional services to restore lens clarity?
● Local optical shops offering polishing or recoating
● Online restoration services for high-end sunglasses
● When to choose professional help over DIY
● Costs, timelines, and typical results
This is where things get professional. If your sunglasses are valuable or sentimental, professional restoration is often the smartest option. Optical shops offer lens resurfacing or re-coating, which can breathe new life into aging sunglasses. The process usually involves using high-speed polishers and anti-static compounds to remove haze or micro-scratches.
Some shops even reapply UV coatings or anti-reflective layers. That said, not every pair is salvageable. If the lens is deeply gouged or the substrate is compromised, restoration may be superficial. You’ll also need to factor in wait time—typically 5–10 business days.
There are also online services that specialize in designer sunglasses. You ship your glasses to them, and they return them restored. This works well for models like Ray-Ban, Persol, or vintage frames.
Here’s a tip—ask if they can send before-and-after examples of similar cases. This helps manage expectations. Some charge per lens, others per job. Either way, you’re looking at $40–$120 depending on lens type and severity.
| Service Type | Average Cost | Turnaround Time |
|---|---|---|
| Local Optician | $30–$60 | 3–7 days |
| Online Mail-In | $50–$120 | 7–14 days |
| Designer Labs | Varies by brand | Up to 4 weeks |
7. Can replacing the lenses make sunglasses clear again?
● Ordering OEM or third-party replacement lenses
● Matching lens size, curvature, and coatings
● DIY replacement vs. professional installation
● Cost-benefit analysis for replacing lenses
Let’s talk replacement. Sometimes, the simplest solution is swapping out the lenses entirely. Many brands offer original replacement lenses (OEM), and third-party companies like Fuse or Revant specialize in custom-cut options.
The challenge is fit. Lenses must match your frame’s size, curvature, and groove profile. If it’s off by even half a millimeter, they’ll pop out or distort your vision. You can either install them yourself using a soft cloth and gentle pressure—or have them professionally mounted.
But here’s the catch—coating quality varies dramatically between OEM and aftermarket lenses. OEMs often include premium anti-scratch and polarization layers, while budget options may fade or scratch faster.
Replacing lenses usually costs $30–$80. For high-end frames, this is well worth it. For cheap sunglasses, it might make more sense to buy a new pair.
| Replacement Type | Pros | Cons |
|---|---|---|
| OEM Lenses | High quality, perfect fit | Expensive, limited styles |
| Aftermarket | Affordable, many colors | Quality varies |
| DIY Install | Convenient, quick | Risk of incorrect fit |
8. How can I tell if my lenses are permanently damaged?
● Signs of irreversible haze or delamination
● Coating bubbling and lens warping
● Blurriness that persists after cleaning
● When to replace instead of repair
Some damage can’t be fixed—here’s how to tell. If your lenses look hazy even after a thorough cleaning, that’s a red flag. Run your fingertip across the surface. If it feels rough, that’s likely coating damage. Look from the side—if you see bubbling or separation between layers, the lens is compromised.
Heat-damaged lenses often warp slightly, causing light distortion. This isn’t fixable and can create eyestrain. Internal fogging that looks trapped beneath the surface is another sign of irreversible damage. These issues happen more frequently in low-cost sunglasses with layered construction.
So what’s the bottom line? If your lenses don’t improve after using approved cleaning methods, it’s time to consider replacement. Don’t waste time or money on repeated polishing attempts—they may worsen the damage.
| Symptom | Likely Cause | Fixable? |
|---|---|---|
| Hazy but smooth surface | Coating degradation | Sometimes |
| Peeling or bubbling | Heat or chemical damage | Usually not |
| Internal fogging | Moisture intrusion | No |
9. What is the safest daily cleaning method?
● Rinse with lukewarm water before wiping
● Use microfiber cloth only—no paper towels
● Avoid circular scrubbing or dry wiping
● Build a daily habit to preserve clarity
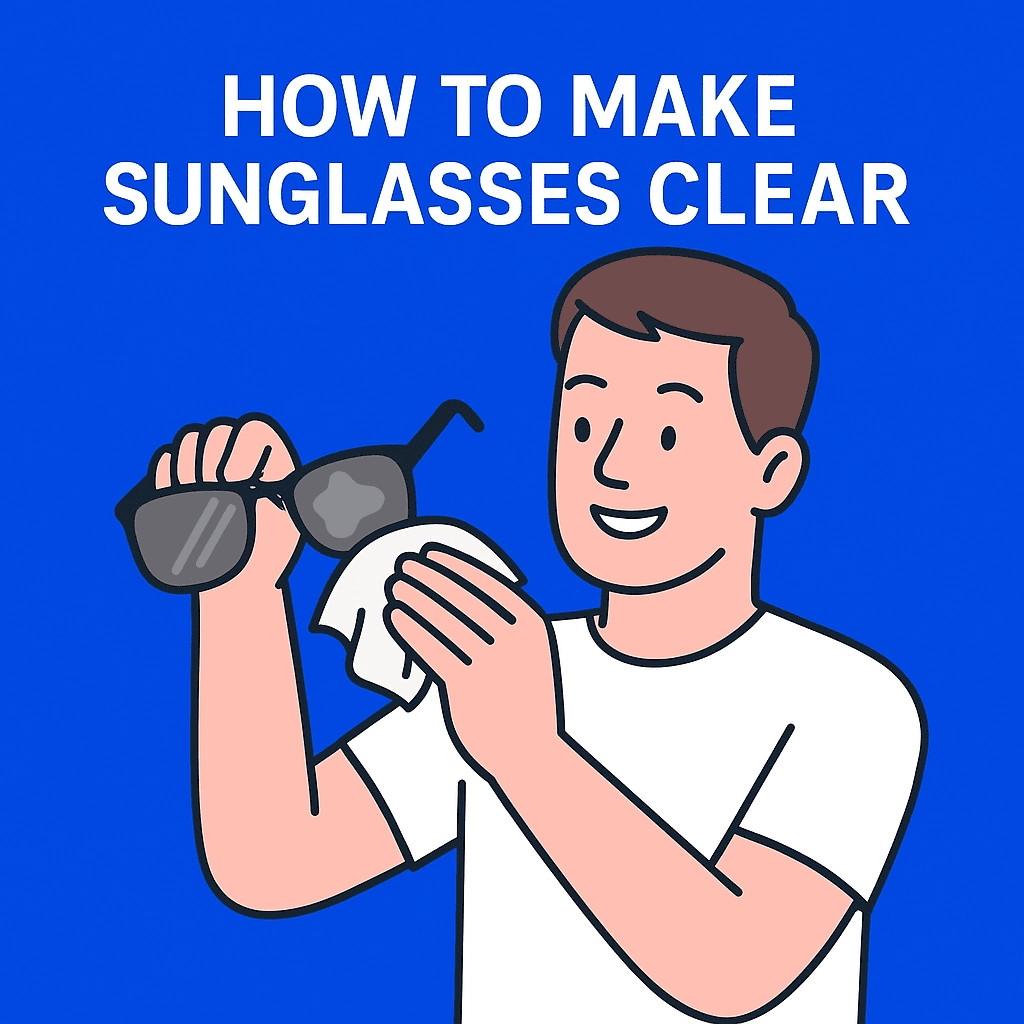
This is where habits make all the difference. You don’t need fancy products—just a consistent cleaning routine. Always rinse your sunglasses under lukewarm water to remove grit. Skipping this step is what causes most scratches.
Add a drop of mild dish soap, then gently lather with your fingers. Rinse and let them drip-dry, then pat with a microfiber cloth. Don’t be tempted to rub with your shirt or tissues. These materials grind particles into the lens and cause micro-scratches.
Also, avoid circular motions. Instead, wipe gently in one direction from center to edge. Circular scrubbing tends to create streaks and uneven polish.
Make this part of your routine, especially after sweaty or dusty conditions. Store your cloth in a sealed pouch so it doesn’t collect debris. And wash it every few days—dirty cloths can scratch just like sandpaper.
| Do This | Why It Works |
|---|---|
| Rinse first | Removes grit |
| Use soap & fingers | Gentle cleaning |
| Pat with microfiber | Avoids micro-scratches |
| One-direction wipes | Prevents circular haze |
10. What tools or products work best for cleaning sunglasses?
● Approved lens sprays and specialty wipes
● Ultrasonic cleaners for deep cleansing
● Cloth quality and storage tips
● What to avoid: sprays with alcohol or ammonia
Now for the gear. A proper lens spray is worth every cent. Look for ones marked “coating-safe” or “polycarbonate-approved.” Use 1–2 sprays per lens and wipe with a microfiber cloth only. Specialty wipes are great for travel—just avoid those with alcohol.
Ultrasonic cleaners are becoming more popular. These devices use sound waves to shake loose dirt at a microscopic level. They’re safe for most glasses, including metal and acetate frames. Just check if your lenses are glued or heat-sensitive.
Want a secret weapon? Use an anti-fog cloth once a week—it helps repel oils and keep lenses clean longer. Also, wash your microfiber cloth weekly in cold water without fabric softener.
Avoid paper towels, facial tissue, or strong household cleaners. These scratch or strip coatings quickly. When in doubt, go minimal—just water and cloth.
| Tool Type | Recommended Use |
|---|---|
| Lens Spray | Daily cleaning |
| Microfiber Cloth | Smudge-free finish |
| Ultrasonic Device | Deep cleaning once a month |
| Anti-fog Cloth | Weekly oil resistance |
11. What should I avoid when trying to clear my lenses?
● Common mistakes that damage sunglasses
● Why t-shirts, paper towels, and harsh sprays are risky
● Temperature dangers—hot water and dashboards
● Cumulative effects of improper care over time
This is where things usually go wrong. People often try to clean sunglasses with whatever’s handy—shirt hems, tissue paper, or window cleaner. But those habits cost you in the long run. Cotton fabrics, even soft ones, trap dust and drag it across the lens. This leads to fine scratches that blur vision and dull the surface.
Paper towels seem soft, but they’re made of wood pulp and contain microfibers that abrade coatings. Combine that with rubbing and you’ve got irreversible haze. And then there’s glass cleaner—it contains ammonia, which strips away anti-glare and UV coatings.
Let’s not forget heat. Leaving sunglasses on your car dashboard exposes them to over 60°C (140°F). At that temperature, plastic lenses warp and coatings bubble. Even a hot water rinse can warp thin polycarbonate lenses.
Improper care adds up over time. Each poor cleaning decision leaves tiny imperfections. These scatter light and produce that dreaded cloudy look. Once the damage accumulates, restoration becomes impossible.
| Mistake | Long-Term Effect |
|---|---|
| Shirt or tissue use | Micro-scratches |
| Harsh cleaners | Coating degradation |
| Heat exposure | Warping or delamination |
| Dry wiping | Dust abrasion |
12. How do polarized lenses affect cleaning and clarity?
● Understanding what makes polarized lenses unique
● Special cleaning considerations
● Signs of degraded polarization
● Myths about polarization and maintenance
Let’s clear up a common myth. Polarized lenses aren’t just tinted—they contain a special laminated film that filters horizontal light waves. This reduces glare from water, glass, or pavement. But this film is sensitive and often layered between coatings.
Cleaning polarized lenses the wrong way can destroy their effectiveness. For example, alcohol-based sprays can dissolve the lamination or separate the layers. Over time, improper cleaning creates rainbow patterns or areas that look “sunburned.”
So what should you do instead? Stick to gentle soap and water. Use a clean microfiber cloth and avoid pressure. If you notice the polarization becoming less effective—reflections look sharper or brighter—it may be a sign that the film is compromised.
And here’s the kicker—polarized lenses wear down faster than regular ones due to UV and sweat exposure. If you’re active outdoors, clean them more frequently and always store them in a case.
| Issue | Polarized Lens Effect |
|---|---|
| Harsh cleaners | Laminated film damage |
| High UV exposure | Faster wear |
| Rainbow distortion | Coating delamination |
| Loss of glare block | Polarization degradation |
13. Can I restore vintage or designer sunglasses?
● Specific issues with aged coatings and lens materials
● Considerations for luxury or collectible frames
● Restoration vs. preservation trade-offs
● Where to find vintage lens restoration services
This is where passion meets preservation. Vintage sunglasses, especially designer pieces, often use outdated materials or fragile coatings. Trying to clean or fix them using modern methods can backfire.
For instance, older Ray-Bans used real glass lenses with rare tinting methods. Aggressive cleaning may remove valuable features or logos. Vintage acetate frames can also become brittle over time, making lens removal risky.
So what’s the approach? Evaluate whether you want functionality or authenticity. If the goal is to wear them again, replacement lenses may be necessary. If the goal is to preserve them, minimal cleaning and proper storage is safer.
Some specialty labs offer lens duplication services for rare or discontinued models. These professionals recreate lenses using the original specs, tints, and coatings. The process is expensive but worth it for collectors or brands with heritage value.
| Restoration Goal | Recommended Action |
|---|---|
| Wearable again | Replace lenses |
| Display/preserve | Gentle cleaning only |
| Heritage brand | Use specialist lab services |
14. How do I prevent my sunglasses from getting cloudy again?
● Smart storage habits that protect lens integrity
● Daily maintenance tips
● Avoiding risky environments
● Building protective routines
Here’s the smart move—prevent damage before it starts. Most haze and blurring come from avoidable habits. The first rule? Always store your sunglasses in a hard-shell case. Don’t just toss them into your bag with your keys or phone.
Clean them once a week, even if they look okay. Dust and oils build up invisibly. Use the proper spray or soap, rinse gently, and dry with a clean cloth. Replace microfiber cloths monthly—they lose effectiveness over time.
Avoid putting sunglasses on your head—hair oils transfer quickly. And never leave them in hot places like your car dashboard. If you’re at the beach or on a boat, rinse your shades with fresh water to remove salt and sand.
Make it a habit. Keeping your sunglasses clear is about small, daily actions—not just reacting when they’re dirty.
| Habit | Benefit |
|---|---|
| Case storage | Prevents physical damage |
| Weekly cleaning | Removes invisible residue |
| Avoiding heat | Protects coatings |
| No head storage | Reduces oil transfer |
15. What’s the best long-term approach for lens clarity?
● Know when to clean, polish, replace, or restore
● Maintain a proper cleaning toolkit
● Balance cost, quality, and convenience
● Make care part of your eyewear routine
So what’s the final strategy? Don’t wait for damage—build a system. Keep a small kit with lens spray, cloth, and storage case. Use it regularly. For light issues, clean. For scratches, polish cautiously. For persistent haze, consider replacement.
Choose sunglasses with high-quality coatings to begin with. They’re easier to maintain and last longer. Treat your shades like any other investment item—if you protect them, they’ll protect your vision.
Here’s what most people miss—good lens clarity isn’t about rescue operations. It’s about consistent, low-effort care that prevents buildup and degradation. Invest in maintenance today so you don’t pay for restoration tomorrow.
| Action Type | Best Use Case |
|---|---|
| Cleaning | Weekly upkeep |
| Polishing | Light scratches only |
| Replacement | Irreversible haze |
| Professional Help | High-end restoration |
Conclusion
In summary, keeping your sunglasses clear isn’t about one-time fixes—it’s about consistent care. From understanding lens materials to avoiding damaging habits, every step matters. When done right, even foggy or scratched sunglasses can regain their original clarity. Follow these practical strategies to extend the life of your eyewear and protect your vision every day.
FAQ
- Q1: What is the best way to make sunglasses clear again?
Use mild soap and warm water, rinse thoroughly, and dry with a microfiber cloth. Avoid harsh chemicals and dry rubbing. - Q2: How does coating damage affect clarity?
Coating damage causes clouding, flaking, or distortion. It often makes lenses look dirty even after cleaning and can scatter light. - Q3: Can cloudy sunglasses be repaired?
Yes, if the haze is from residue or light scratches. If it’s from deep damage or coating breakdown, replacement may be necessary. - Q4: Is vinegar safe for cleaning sunglasses?
In diluted form and used carefully, yes. But it should be tested first and never used on delicate or polarized lenses. - Q5: How do I prevent foggy or hazy sunglasses in the future?
Clean regularly, avoid heat, store them in a case, and never use tissue or shirt fabric to wipe the lenses.